Undersink reverse osmosis systems have become increasingly popular in households for delivering safe and purified drinking water directly from the kitchen tap. These systems are known for their ability to remove a wide range of contaminants, including heavy metals, chlorine, fluoride, and other impurities. While the benefits are clear, many homeowners are unsure how to properly install and maintain such a system. Learning to install and care for an undersink RO system not only ensures its effectiveness but also extends its lifespan and performance.
Understanding the Basic Components
Before beginning the installation process, it's important to understand the primary parts of an undersink RO system. Most systems include multiple stages of filtration, a semi-permeable membrane, a storage tank, and a dedicated RO faucet. The system also includes tubing and fittings that connect the unit to the cold water supply, drain line, and faucet.
Knowing the purpose of each component will make the installation and maintenance tasks more manageable. The sediment and carbon filters act as pre-filters to protect the RO membrane, which does the main job of purifying the water. After filtration, the water is stored in a tank and delivered through the faucet when needed.
Steps for Installing an Undersink RO System
Efficient installation begins with proper preparation. Start by clearing the area under the sink and identifying the cold water line, drainpipe, and a suitable spot to mount the storage tank and filtration unit. Shut off the cold water supply before beginning any connections.
The first step is installing the feed water adapter. This part connects the cold water supply to the inlet side of the RO system. Next, drill a hole in the sink or countertop if a separate hole for the RO faucet is not already available. Install the faucet securely, making sure the seal is tight to prevent leaks.
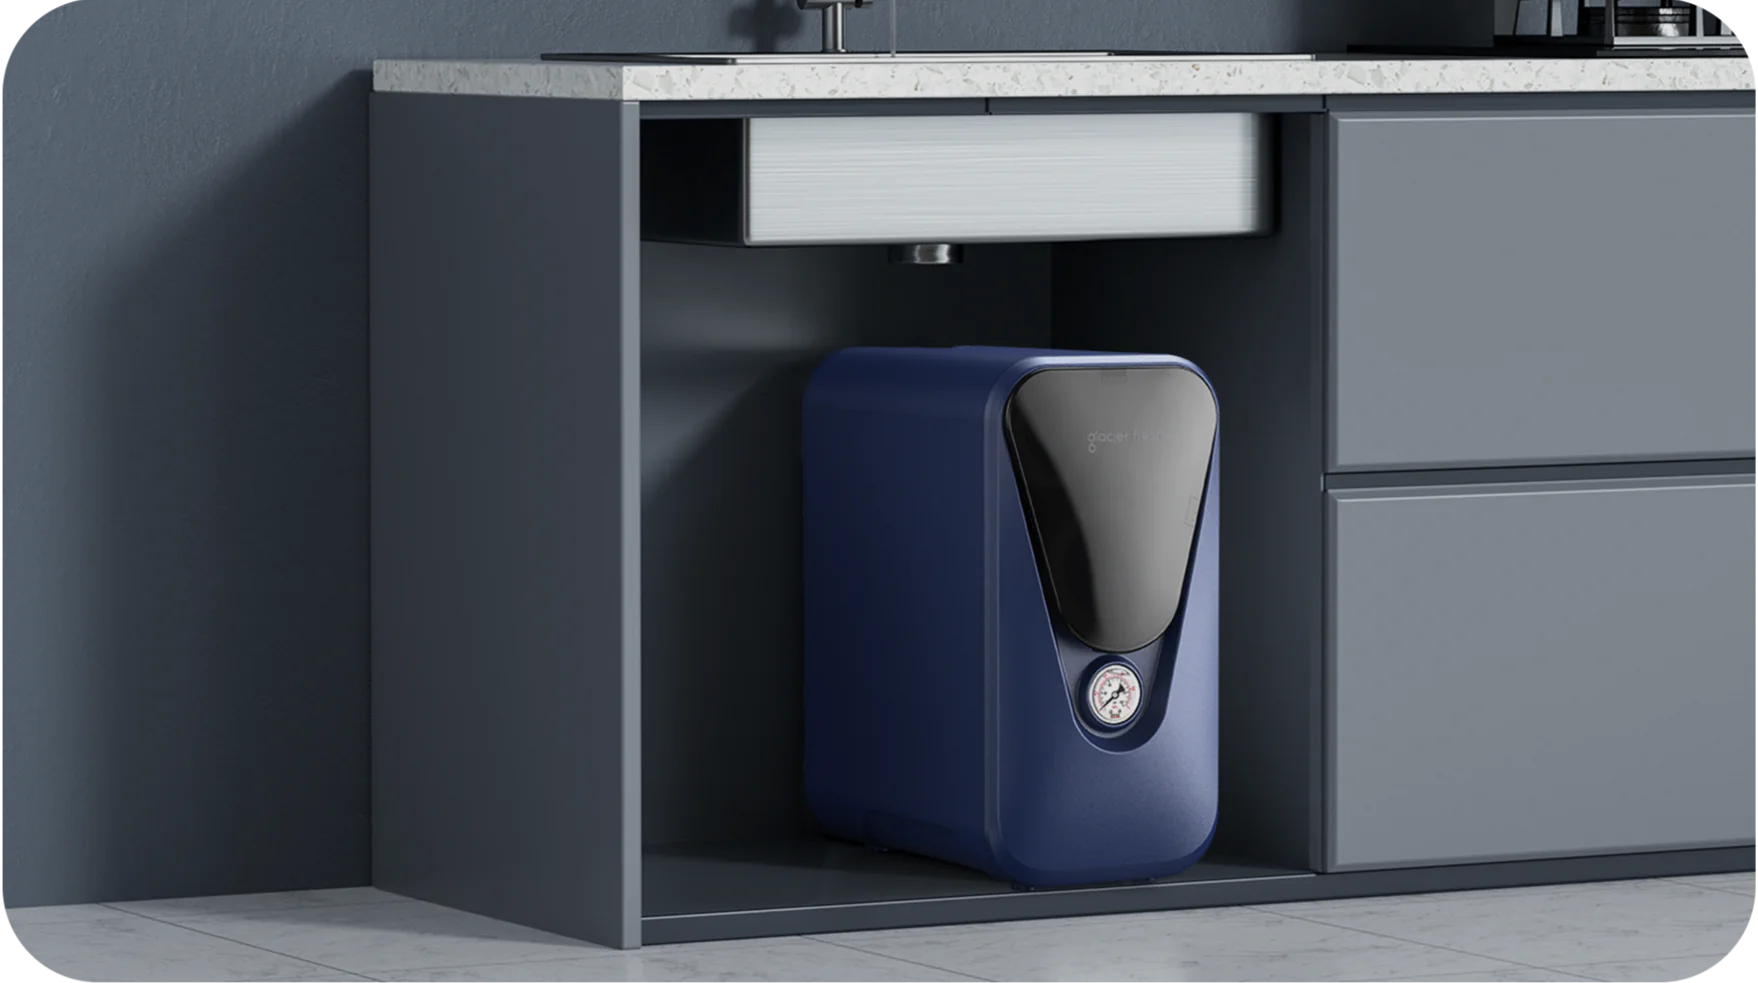
After installing the faucet, mount the RO system under the sink using the included brackets. Connect the colored tubing from the system to the water supply, faucet, and drain. Be sure to follow the color-coded diagram that comes with most units to avoid confusion. Also, attach the storage tank to the system using the appropriate tubing.
Once all the tubing is connected, turn on the water supply and check for leaks. Allow the system to fill the storage tank, and flush it according to the manufacturer’s instructions before drinking the water. This step typically involves emptying the tank once or twice to remove any manufacturing residue from the filters.
Initial System Check and Flushing
After installation, it is important to conduct an initial check. Let the tank fill completely, which can take a few hours. Once full, open the RO faucet and allow all the water to drain. This flushing process helps to clean out any carbon dust or preservation agents used in the filters and membrane during packaging.
Repeat this process at least one more time. After the second flush, the system will be ready for regular use. Make sure to check all connections for leaks and tighten any loose fittings. It’s also helpful to keep a towel or bucket nearby during this phase to catch any excess water.
Routine Maintenance for Optimal Performance
To keep your undersink ro system running efficiently, routine maintenance is essential. Each filter in the system has a specific lifespan. The sediment and carbon pre-filters should generally be replaced every six to twelve months. These filters protect the membrane from clogging and damage, so timely replacement is important.
The RO membrane typically lasts between two and three years, depending on your water quality and usage. Post-filters, often carbon filters used to enhance taste, may also require annual replacement. Some systems have additional stages like remineralization or UV sterilization, which come with their own maintenance schedules.
Cleaning the storage tank and sanitizing the system once a year is also a good practice. This prevents bacterial growth and keeps the water tasting fresh. Use food-grade sanitizers and follow the manufacturer’s instructions for disassembly and cleaning.
Troubleshooting Common Issues
Even with proper installation and maintenance, occasional issues may arise. A common problem is slow water flow, which could be due to a clogged filter, depleted tank pressure, or a blocked RO membrane. Replacing the filters or checking the tank pressure usually resolves this.
Leaks around the fittings can often be fixed by re-seating the tubing or tightening the connections. If the system continuously drains water, it might indicate a faulty check valve or an issue with the auto shut-off valve. Replacing the damaged part will restore normal function.
Strange tastes or odors in the water usually point to filters that need changing. Keeping a filter replacement schedule and monitoring the water’s taste and clarity can help identify when maintenance is needed.
Tips for Efficient Use and Longevity
To ensure your RO system remains efficient, always use genuine replacement parts recommended by the manufacturer. Keep track of maintenance with a calendar or reminder app. Avoid installing the system in extremely hot or freezing environments, as this can affect performance.
It’s also helpful to periodically test your water quality before and after filtration using a TDS (total dissolved solids) meter. This will give you an idea of the system’s performance and when it might be time to replace key components.
Conclusion
Installing and maintaining an undersink RO system efficiently is a manageable task when you understand the system’s components and follow a structured approach. Proper installation ensures immediate access to clean, safe drinking water, while regular maintenance guarantees long-term performance and durability. With minimal effort and attention, an undersink RO system can provide years of reliable service and peace of mind for you and your family.
Comments on “How to Install and Maintain an Undersink RO System Efficiently”